This post will help guide you through the installation of your email address onto an iPhone or iPad.
Go to Settings > Mail > Accounts / Add Account
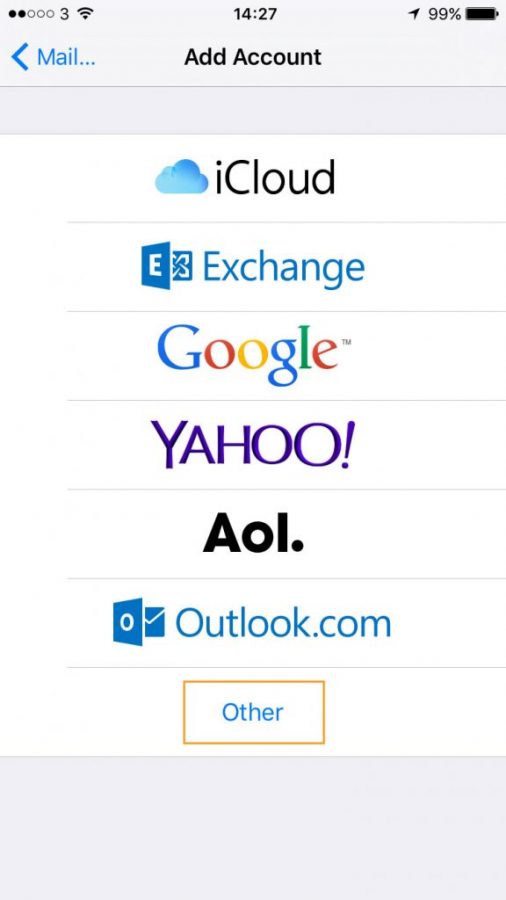
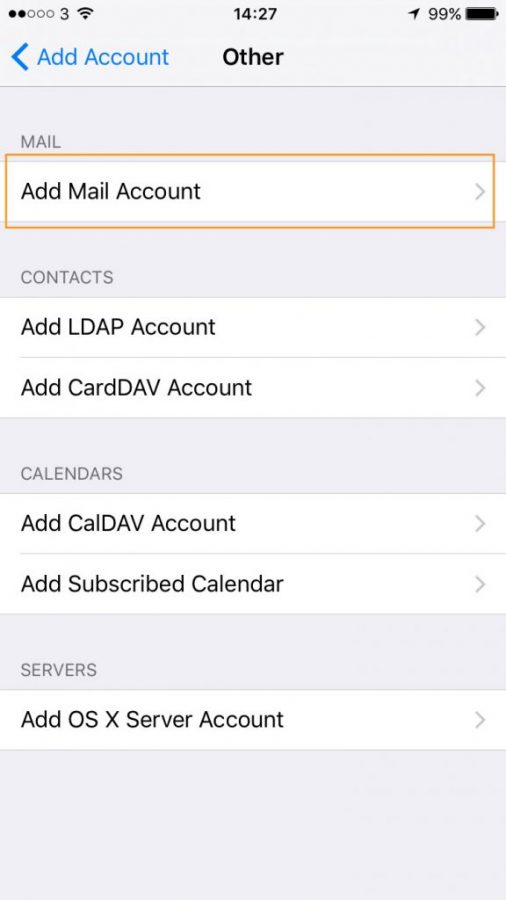
Then select Other and then proceed to Add Mail Account
You’ll then be asked for the most basic details of your account. The Description can be anything to help identify this account. Once done proceed to Next.

On the next screen you’ll need to input the final details to configure your email account. We’ll describe each field below the next screenshot.
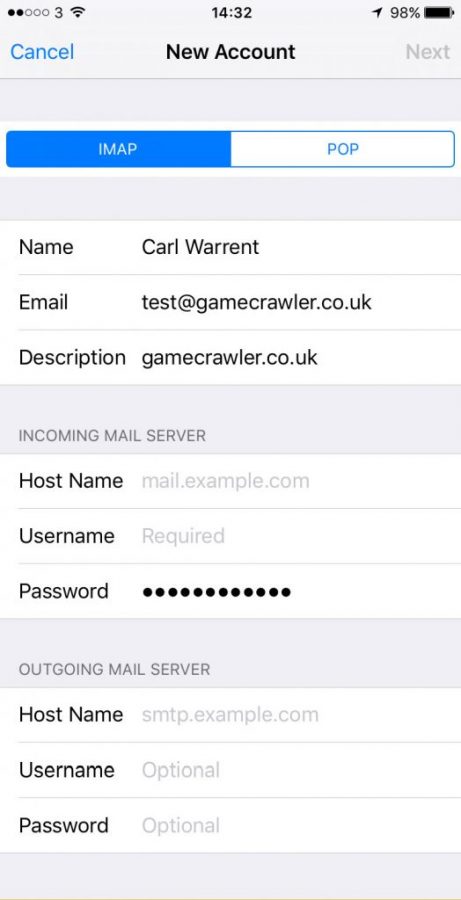
IMAP or POP – You’ll notice by default it’s set to IMAP. IMAP is our recommendation, though you can read more on the benefits of IMAP vs POP3.
Name, Email and Description – These fields will be pre-populated from what you entered on the previous configuration screen.
Host Name – This needs to be server.emedias.co.uk
Username – This is your email address which we’ve setup for you on the server.
Password – The first password field will also be pre-populated from the previous configuration screen.
Outgoing Mail Server – While this section by default reads “Optional”, these details are required for access to our server. Simply repeat the Host Name, Username and Password details as you entered previously.
When done, click Next. There will be a short delay while the account verifies, assuming you haven’t made any input errors.
If you selected IMAP as your chose email protocol, you’ll then be asked if you want to enable Notes. This is optional. Once you click Save, your email will be ready to use.